
Almost every website, app or even network tracks what you do online. A VPN encrypts your data and hides your activity. For years, it has been the most reliable method, not only for maintaining privacy but also for helping you unblock any website, bypass geographical restrictions, and more.
While there are numerous free VPN services that work well, some of them can still log your data, have limited server locations, and even throttle your speed and restrict bandwidth.
To avoid all these limitations, setting up your own VPN server is often the best way if you still want to access it for free. Currently, numerous methods are available for setting up a VPN server at home, including software-based VPN servers, router-based VPN servers, cloud-based VPN servers, and others.
However, among all these methods, setting up a VPN server using a software-based VPN server is the best option because it is free, easy to install, and manage, eliminating the need for complex setups and different server configurations.
It is also the most reliable option for non-technical users who don’t want to deal with technical jargon. In this guide, you will learn how to set up your own VPN server at home using any free VPN software.
How to Set Up Your Own Software-Based VPN Server
As the name suggests, software-based VPN works in exactly the way you expect them to work. You can install any free server software. Once you install the software, your device will create a virtual network interface that automatically encrypts the traffic leaving your device.
Once the setup is complete, you can connect other devices, such as your phone or laptop, as clients to the device on which you installed the VPN server.
That’s it. All the connected devices will send traffic through the VPN device, encrypting all your traffic. Even when you are away from home, you can connect your device through your home network and access your own VPN tunnel, encrypting your traffic.
There are numerous free, open-source software options, as well as paid software with complimentary features. In this guide, we will use WireGuard. You will learn about why I chose WireGuard over others in just a second.
However, the biggest downside of setting up a home server is that, apart from staying online whenever you need it, it only offers a single location, and you cannot access geo-blocked sites from your location. However, your connection is still encrypted, and it is free to use.
If you are looking to set up a free alternative to the paid VPN like NordVPN without any limitations, with multiple server locations and access to geo-blocked sites in your location using a VPN, you can set up a self-hosted free VPN using any free cloud service provider.
In this guide, you will learn how both of these methods work. Here is a comparison table between the two methods.
Home VPN vs Foreign VPN Server
| Feature | Home VPN (WireGuard) | Self-Hosted Foreign VPN |
| Setup Cost | Free | Free / Low-cost |
| Encryption | Yes | Yes |
| Geo-Blocked Sites | No | Yes |
| Change Location | No | Yes |
| Access Home Files | Yes | Limited |
| Access Country Sites Abroad | Yes | Yes, but only if the server is in your country |
| Public Wi-Fi Safety | Yes | Yes |
| Speed | Depends on your home router | Generally faster |
| Setup time | Easy | Also easy |
| Reliability | Depends on home connection | High time because of dedicated servers. |
| Device Online | It should stay on | It’s always on |
| IP Visible | Home IP | VPS IP |
| Requires | Public IP, router access | VPS account, SSH |
| Best For | To encrypt your traffic and access home files | An alternative to VPN Services |
If you want a free and simple setup to encrypt your traffic, a home VPN is the best option. However, if you want to access websites from multiple locations and access geo-blocked sites in your location, a self-hosted foreign VPN is the best option.
2 Ways to Set Up Your Own VPN Servers
Method 1: Set up Home VPN Server
You can use any software-based VPN service to set up a home VPN server for free. Here are the requirements for each device.
Pre-requisites to set up a home VPN server for different devices
| What You Need | Windows | macOS | Linux |
| WireGuard App | Official app | App Store / Homebrew | apt install wireguard |
| Internet | Yes | Yes | Yes |
| Router Access | Open port 51820 | Open port 51820 | Open port 51820 |
| Public IP / DDNS | Required | Required | Required |
| Device Should be On | Always | Always | Always |
Step 1: Install the WireGuard app from the App Store
You can install the WireGuard app from the App Store using this link for Mac and Windows. Alternatively, you can install it from the terminal using this command. Make sure Brew is installed on your Mac.
Step 2: Install Wireguard Tools
Next, you need to install WireGuard tools. Follow the steps below:

- Now, open the Terminal and run the following command to install WireGuard tools on your device.
- Command: brew install wireguard-tools
- To ensure it is successfully installed on your device, use this command: wg –version.
- You should be able to see the version number.
Step 3: Generate Public and Private Keys

- Now, open Terminal and create your Public and Private Keys. As always, make sure Home Brew is installed on your device.
- Copy the paste these codes in the Terminal:
cd ~
wg genkey | tee server_private.key | wg pubkey > server_public.key
wg genkey | tee client_private.key | wg pubkey > client_public.key
Step 4: View Generated Keys

- Once you click Enter, Keys will be generated and hidden from view. To check keys, use this command:
cat server_public.key
cat client_private.key
Step 5: Create your Server Config file

- Now, you need to create a server config file with your details. To do, Open Terminal and paste this command:
sudo nano /usr/local/etc/wireguard/wg0.conf
- Enter your password to open the Editor.
Step 6: Paste the code

Now, paste this config text into the file.
[Interface]
Address = 10.66.66.1/24
ListenPort = 51820
PrivateKey = SERVER_PRIVATE_KEY
[Peer]
PublicKey = CLIENT_PUBLIC_KEY
AllowedIPs = 10.66.66.2/32
Note: Replace the Private Key and Public Key with your own keys generated in step 4
Example:
[Interface]
Address = 10.66.66.1/24
ListenPort = 51820
PrivateKey = GtloBhNhOJUcI/esk1YRTJDjshddgftKSlV6yhtFBcoGvlMMYDg=>
[Peer]
PublicKey = yCjhu4e8Ln7hGSKhsjsedrVKa7lsC9aalUpnkaYgd+z9dGF28=>
AllowedIPs = 10.66.66.2/32
Step 7: Save file

- Now use Control + O and then tap on Enter, and use Control + X to save the file
Step 8: Enable IP Forwarding

- Once you have saved the file, you can exit, and again open the new Terminal and use the following command:
sudo sysctl -w net.inet.ip.forwarding=1
Step 9: Start a WireGuard Server

- Now use the command to start the Wireguard Server:
Command: sudo wg-quick up wg0
Step 10: Now you need to set Port forwarding on your Router

- Make sure you are connected to your Wi-Fi and go to your Wi-Fi router’s dashboard. Open any browser and visit these URLS: 192.168.1.1 or 192.168.0.1
- Find the port forwarding options. For TP-Link routers, navigate to Network > Advanced, then select NAT Forwarding and Virtual Servers. If you are using a D-Link device, you can utilize the Total Adapting Port Forwarding feature.
- And from here, you need to create a new forwarding rule. Add the following details: Service name, address to Wireguard, Protocol to UDP, and the external port to 51820. Also, set the internal port to 51820 and use your Mac’s IP address as the internal IP address. Enable this port.
Step 11: Create a client confog file

- Now, you need to create a client config file for the WireGuard app. To do this, open any Text editor and paste the file.
[Interface]
PrivateKey = <CLIENT_PRIVATE_KEY>
Address = 10.66.66.2/24
DNS = 1.1.1.1
[Peer]
PublicKey = <SERVER_PUBLIC_KEY>
Endpoint = <YOUR_PUBLIC_IP_OR_DDNS>:51820
AllowedIPs = 0.0.0.0/0, ::/0
PersistentKeepalive = 25
Note: Now replace the following details with your details
- Replace public and private keys with your keys that you generated in step 4.
- You can find your public IP address by going to Whatismyipaddress.com
Example:
[Interface]
PrivateKey = aBcDeFgHijKlmNoPqRsTuVwXyZ1234567890abcdEFG=
Address = 10.66.66.2/24
DNS = 1.1.1.1
[Peer]
PublicKey = zYxWvUtSrQpOnMlKjIhGfEdCbA9876543210qwertYUI=
Endpoint = myhomevpn.duckdns.org:51820 (I have used Duckdns here; instead, you can also place your Mac IP address here)
AllowedIPs = 0.0.0.0/0, ::/0
PersistentKeepalive = 25
- Once created, save the file. Make sure you save it as plain text, not in RTF format.
How to create a client config file using Terminal:
You can also use the command prompt to create a file; use the steps below
- Use this command in he terminal: nano ~/Desktop/client.conf
Paste this file:
[Interface]
PrivateKey = <CLIENT_PRIVATE_KEY>
Address = 10.66.66.2/24
DNS = 1.1.1.1
[Peer]
PublicKey = <SERVER_PUBLIC_KEY>
Endpoint = <YOUR_PUBLIC_IP_OR_DDNS>:51820
AllowedIPs = 0.0.0.0/0, ::/0
PersistentKeepalive = 25
Make sure that you replace the values as shown in the above example. Then, use Control + O, press Enter, and use Control + X to save the file.
Step 12: Import client.conf into the WireGuard app

- Now, open the WireGuard app on your device
- Click on the ” Import the file through the tunnel option.
- And select the client.conf you just created using the Text Editor
- Now, finally, click ‘Activate‘.
- That’s it, now your Mac is a free VPN server.
How to Connect Other Devices to Your Home VPN Service?

Step 1: Install the WireGuard app on the other device.
- Now you need to install the WireGuard app on the other device. In this case, I am installing it on my Android phone.
Step 2: Set up the WireGuard app on the other device
- Open the app, then disconnect from your Wi-Fi and ensure you are using mobile data to test the VPN connection.
- Now, click on the files and select the file you want to import. You can copy the file client.conf to your device that you created on your Mac.

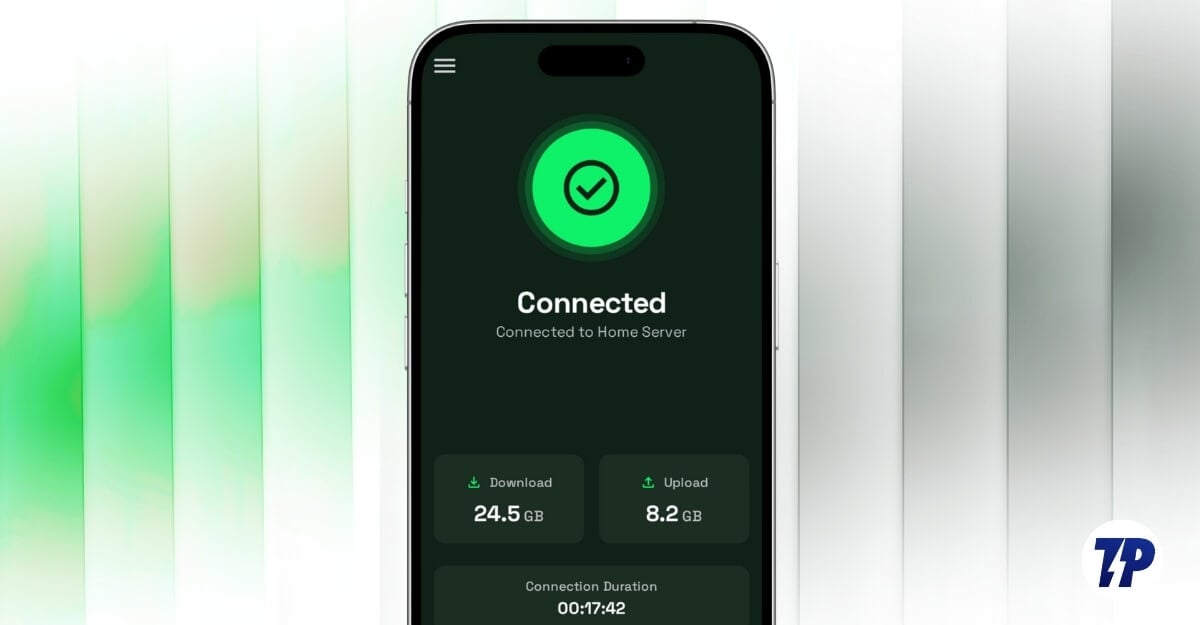
On your Android device, open the WireGuard app, click the Plus icon, select the “Import file or archive” option and select the Client.conf file that you have copied from the Mac, and that’s it. Now you can enable the clinet, and you will successfully connect to your home VPN.
How to Create Self-Hosted Foreign-Location VPN
Next, if you want to create a VPN in another location, you can use a free cloud server that provides a WireGuard app for installation and create a VPN. Here is how. For this, we are using Oracle, which requires you to submit your card details.
Step 1: Create a free Oracle account
If you want to create your own VPN server in a different location apart from your home, you can sign up for any free cloud service provider and use that server as your VPN server.
Out of all the methods, Oracle offers a free A-Team service. You can sign up for a free Oracle account and pick any server you want to connect to. Currently, it supports the US, Singapore, Germany, India, and several other countries. Here is how you can set up.
Step 2: Sign up for Oracle
- Visit https://signup.cloud.oracle.com/ and create your free account.
- Enter your account details, First name, last name, and your email address. Once you enter, click ‘Verify Email Address’.
- Click on the verify button on the email you have received.
- Enter your passcode and fill in all necessary details.
- From there, you can add a new server and note down the server’s public IP address, which can be found in the server details.
Step 3: Add a new Server
- On the dashboard, click “Create a new instance.”
- Enter the name and choose any free standard server, select Ubuntu as an image, enter any domain, and click on Add SSH key.
- Once added, you need to download the private key. Click on ‘Generate SSH key pair’, download the private key, and then click on the crate. And at times it will display a public IP Address, note it down, and your server will have been created.
Step 4: Connect to your server
- Next, once the server is created, you need to connect to the server from your Mac using the following command.
command: chmod 600 ~/Downloads/your-key.pem
- Now use this command to connect to the server using SSH
ssh -i ~/Downloads/your-key.pem ubuntu@<your_public_ip>
Make sure you replace the public IP address with the one you generated from the Oracle server. Here is how it looks:
Example: ssh -i ~/Downloads/vpnkey.pem ubuntu@132.145.89.22
Step 5: Install WireGuard on the Server
- Once you have successfully connected to the server, you need to uninstall WireGuard on the server. Use the command to do that
sudo apt update && sudo apt install -y wireguard
Step 6: Generate Public and Private Keys
- Once the installation is successful, you need to generate public and private keys. To do this, you can use the following command on your Mac or Windows
cd ~
wg genkey | tee server_private.key | wg pubkey > server_public.key
wg genkey | tee client_private.key | wg pubkey > client_public.key
- That’s it, once you generate, you can use this command to see the generated keys: command: ls
You will see all the keys. Use the following commands:
cat server_private.key
cat server_public.key
cat client_private.key
cat client_public.key
Step 7: Create a confi file on your Mac
- Next, you need to edit the congi file on your Mac. Use the following command
sudo nano /etc/wireguard/wg0.conf
- Next, paste this code:
[Interface]
Address = 10.10.0.1/24
ListenPort = 51820
PrivateKey = <SERVER_PRIVATE_KEY>
PostUp = iptables -t nat -A POSTROUTING -o eth0 -j MASQUERADE
PostDown = iptables -t nat -D POSTROUTING -o eth0 -j MASQUERADE
[Peer]
PublicKey = <CLIENT_PUBLIC_KEY>
AllowedIPs = 10.10.0.2/32
- Make sure you replace the keys with your own, which you generated in the previous steps.
Step 8: enable IP forwarding
- Once you have created the config file, you need to enable IP forwarding. To do this, use the following command:
sudo sysctl -w net.ipv4.ip_forward=1
- Next, use this command to make it permanent
echo “net.ipv4.ip_forward=1” | sudo tee -a /etc/sysctl.conf
Step 9: Now create a VPN config file
- Open any text editor and paste this code
[Interface]
PrivateKey = <CLIENT_PRIVATE_KEY>
Address = 10.10.0.2/24
DNS = 1.1.1.1
[Peer]
PublicKey = <SERVER_PUBLIC_KEY>
Endpoint = <SERVER_PUBLIC_IP>:51820
AllowedIPs = 0.0.0.0/0, ::/0
PersistentKeepalive = 25
Replace the values with your keys. In the Server Public IP, paste the Oracle server Public IP that you created in the previous steps.
Step 10: Connect to the server
- Download the WireGuard app and install it on the device you want to use to connect to the VPN Server.
- Open the Wireguard app and click on ‘Import Tunnel’ from the file menu, then select the VPN file you created.
- Now, allow the VPN to connect and enable the client.
- This is how you can manually create multiple servers and set up a VPN.
Final Thoughts
Those are the two methods you can use to build your own VPN server. You might find these steps complex; however, I have ensured each step is simple and easy to understand, even for beginners. If you encounter any issues or errors while setting up your own VPN service, please let us know by leaving a comment below. I am very happy to help you. Below you can find the most frequently asked questions by users. Visit the section to know more about these VPN setups.
FAQs on Building Your Own VPN Server
1. How can I make my home VPN work if my IP address changes frequently?
If your internet service provider uses a dynamic IP, it is challenging to include your new IP address every time you connect to the VPN. The best possible solution is to use a free dynamic DNS service, such as duckdns.org, which links your dynamic IP address to a fixed hostname. This way, you can stay connected to your home internet. ‘
2. Can I connect multiple devices to my home VPN at the same time?
Yes, you can connect multiple devices to your home VPN simultaneously.
3. Can I use my VPN to stream Netflix or other geo-restricted services?
Yes, you can stream Netflix, but to unlock geo-restricted services, you need to use a VPN that is located in a different region that is not geo-blocked. In this case, setting up a foreign VPN server is the best option.
4. Can I run other apps or services on the same device as my VPN?
Yes, but make sure they don’t conflict with your VPN service.
5. What’s the difference between WireGuard and OpenVPN?
WireGuard is the newer and lighter version of OpenVPN. It is the best part for people looking to set up a simple version of a home vpn without consuming too many resources.