
Contacts in Outlook act as a digital address book that helps in efficient email management and communication. Like other mailbox items, contacts are also stored in the OST (Offline Storage Table) file. Sometimes, you need to export these contacts from your OST file to a PST file for various reasons, like backup or transfer to another account.
In this guide, I will help you in seamlessly exporting your contacts from OST file to PST without missing any contact information.
Reasons for Exporting Contacts from an OST File to PST
Exporting contacts from the OST file to PST may become necessary due to many reasons, such as:
- Data backup
- Migration to another system or Outlook
- Transfer to a new email client
- Contacts recovery
- Offline access
- Selective sharing
How to Export Contacts from OST File to PST
Now that the reasons for exporting contacts from the OST file to PST are clear, let’s move forward to see the methods available for exporting contacts to PST.
1. Export Contacts by using Outlook’s Import/Export Wizard
You might be aware of the Outlook’s Export and Import functionality, which allows to export mailbox data to PST file. You can also use this functionality to export your contacts to the PST file. Here’s how you can do this:
- Login to Outlook with the associated profile.
- Click on the File tab in the top-left corner.
- Click on the Open & Export option in the left pane and select the Import/Export option.

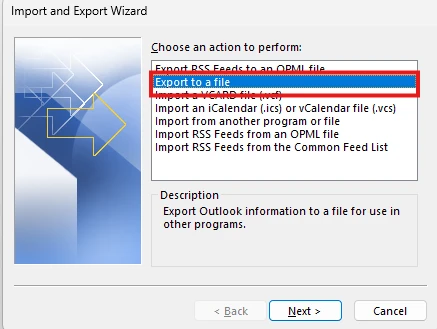
- On the window that appears, select the “Export to a file” option. Then, hit the Next button to continue.
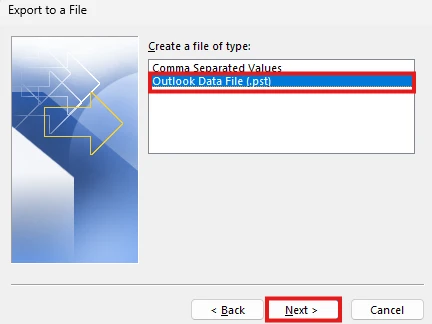
- Select the Outlook data file (.pst) in the Export to a File window and click Next.
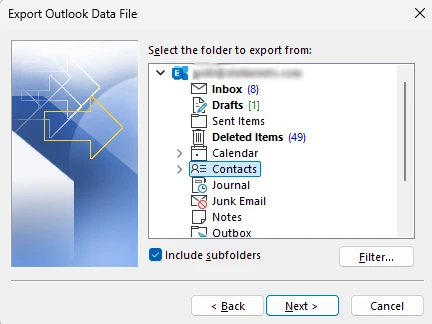
- You’ll now see all your mailbox folders listed. Scroll down and select the Contacts folder, and click on Next.
- Then, choose the location where you want to save your PST file by clicking on Browse, and then click on Finish.
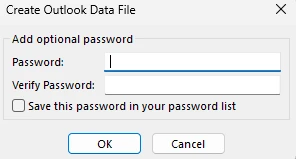
- Once you click on Finish, Outlook may ask you to set a password for the PST file.
- This option is optional. If you want to protect your PST file, set a password, and click on OK. Else, click on OK without entering the password.
Outlook will save your contacts in the PST file at the given location.
Note: This method only works when your Outlook profile and the associated OST file is accessible.
2. Export Contacts through the Drag & Drop Method
If you want to export a few specific contacts rather than the entire folder, then there is a workaround you can use. In this, you have to first create a new PST file and then drag and drop the contacts, you want to export, into this file. Here’s how:
- In your Outlook, create a new PST file. For this, click on New Items under the Home menu and click on More Items.
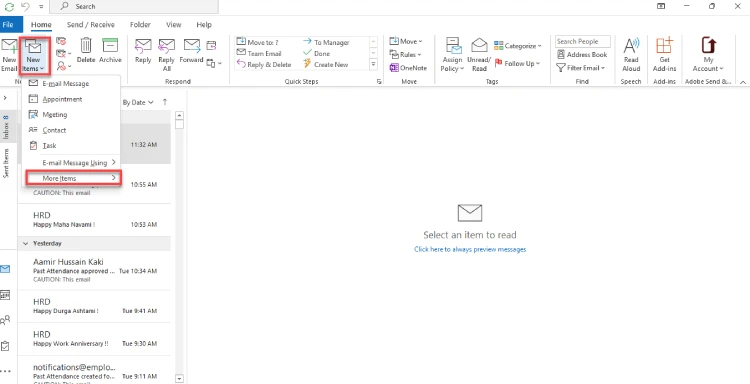
- Select the Outlook Data File… option from the dropdown.
- Give a name to the PST file, for example, MyContacts and select a location/folder to save it.
- Once the PST file is created, you will see it in the left pane of your Outlook window.
- Select the contacts that you save in the PST.
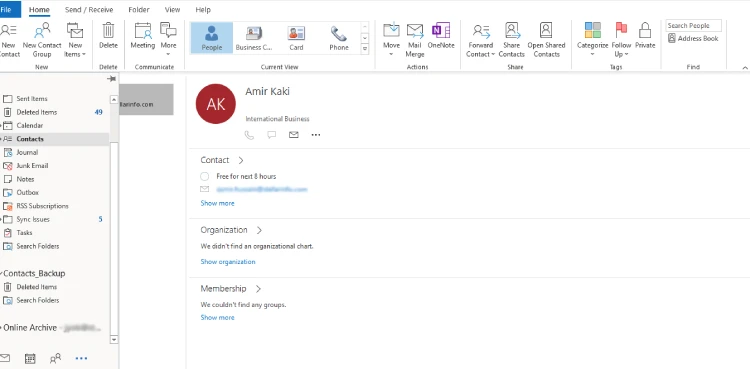
- Drag and drop them into the new PST (MyContacts).
3. Export Contacts using an OST to PST Converter Tool
An effortless and seamless way to export contacts from OST file to PST is by using a professional OST to PST converter tool. Stellar Converter for OST is one such tool that can help you in this. The best thing is that this tool, unlike manual methods mentioned above, can also export contacts and other mailbox items from OST file, which is inaccessible or orphaned.
This advanced tool is purpose-built to extract mailbox items when the OST file is inaccessible or disconnected from the server. It offers various options to save the mailbox items. For example, you can save the OST file items in EML, MSG, RTF, HTML, and PDF file formats, in addition to PST. It also have an option to save the contacts separately in the CSV file. Let’s see how this tool works.
- Go to the website of the tool (https://www.stellarinfo.com/convert-ost-to-pst.php) and download the software.
- After downloading, install the software and open it.
- After opening the software, you will see two options: “List Profile” and “Choose Manually.” Click on List Profile.
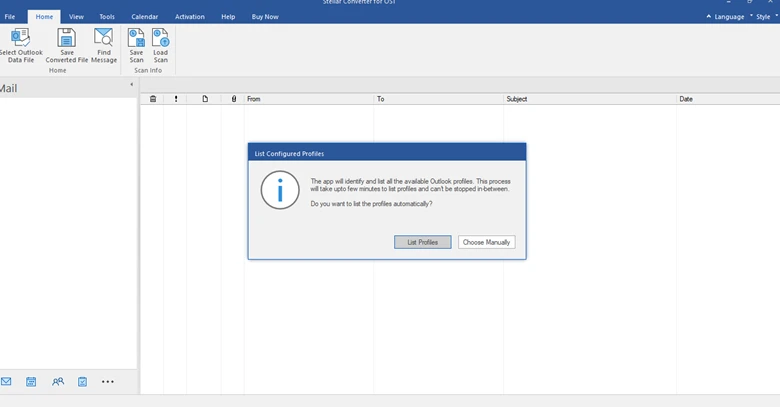
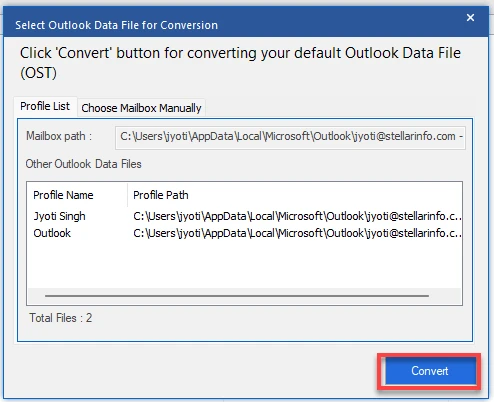
- When you select Profile List, the software will detect and list the OST files associated with your account. If you want to convert OST file located at a different location, then click Choose Mailbox Manually.
- After selecting the OST file, click on the Convert button. The software will start the scanning process.
- Once the scanning of OST file is finished, the software will present all the mailbox items in a three-pane preview window. Click on Contacts to see its enhanced preview.
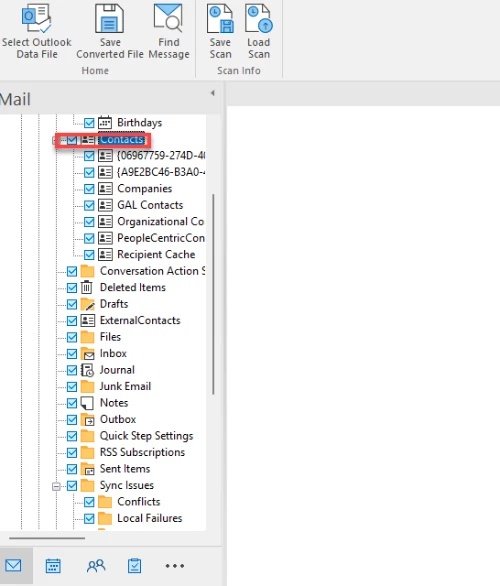
- Select Contacts folder and click on Save Converted File from the Home ribbon.
- Choose the file format as PST and the location to save the converted file. Then, click OK to begin the saving process.
- When the process is complete, you’ll see a Saving Complete message. Click OK.
When the contacts are saved in PST, you can open or import it into any Outlook account.
Read Also: How to Print Text Messages from Android?
Conclusion
This article explains different methods for exporting contacts to PST file. But, the manual methods, using Import/Export wizard in Outlook and the drag-and-drop method, have certain limitations.
These manual methods will only assist you, when you’re able to access your Outlook profile and the OST file associated with the profile. For a seamless export without any such limitations or hassles, you can use a professional-grade OST to PST converter software, such as Stellar Converter for OST, as discussed above.
This is an advanced OST to PST converter software that assists you in comfortably exporting contacts and other mail items from the OST file, even inaccessible or orphaned, to PST and multiple other file formats.